First steps with Adobe Lightroom CC

On my “myInnovationDay” I worked on my old photographs which I had taken several months ago at Helsinki Cathedral in Finland of my very good friend. I chosed Adobe Lightroom CC because it’s a professional photo cataloguing and editing software. It made easy to pick out the candidate pictures and mark the unwanted ones.
Bringing light(room) into darkness
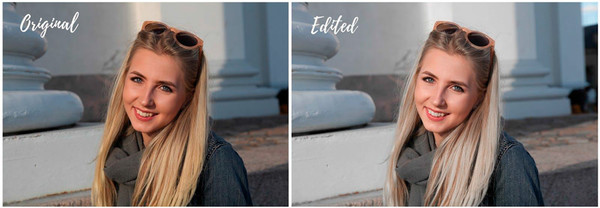
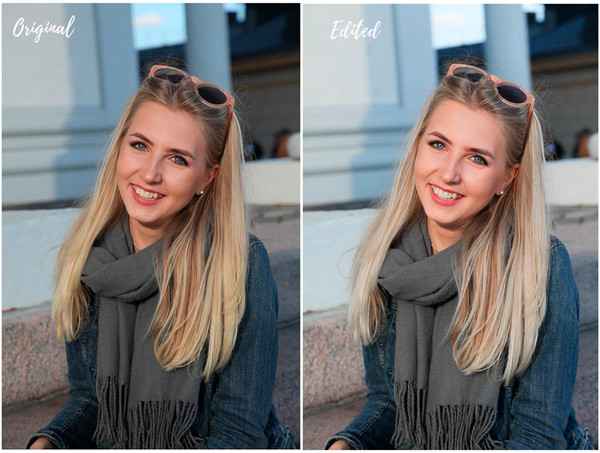
Firstly I started to develop the pictures by adjusting exposure, tone curve, contrast and highlight. After improving the picture I went and did some sharpening and noise reduction to smoothen the skin. Then I moved on Color to specifically adjust and highlight the tonality of the picture. I chose to highlight the blue in her eyes, lower the yellows and oranges which caused her hair to be unnaturally yellow while also brightening her smile.
Lightroom made it easy adjusting exposure, contrast and colors. It has a cloning feature to clone out the unwanted spots as well. It was a slick way to edit my photographs fast while still getting a good outcome.

Result
I am satisfied with the outcome as I managed to keep the pictures look natural while enhancing the portraits.